If you’re managing a Shopify store, optimizing product visibility across sales channels, ensuring accurate tagging, controlling market availability, and setting profit margin rules are essential for smooth operations and maximum profitability. In this guide, we’ll walk you through each of these tasks with step-by-step instructions, including tips for users working with apps like Super Tools and BrandsGateway.
1. Bulk Edit Products for Sales Channels
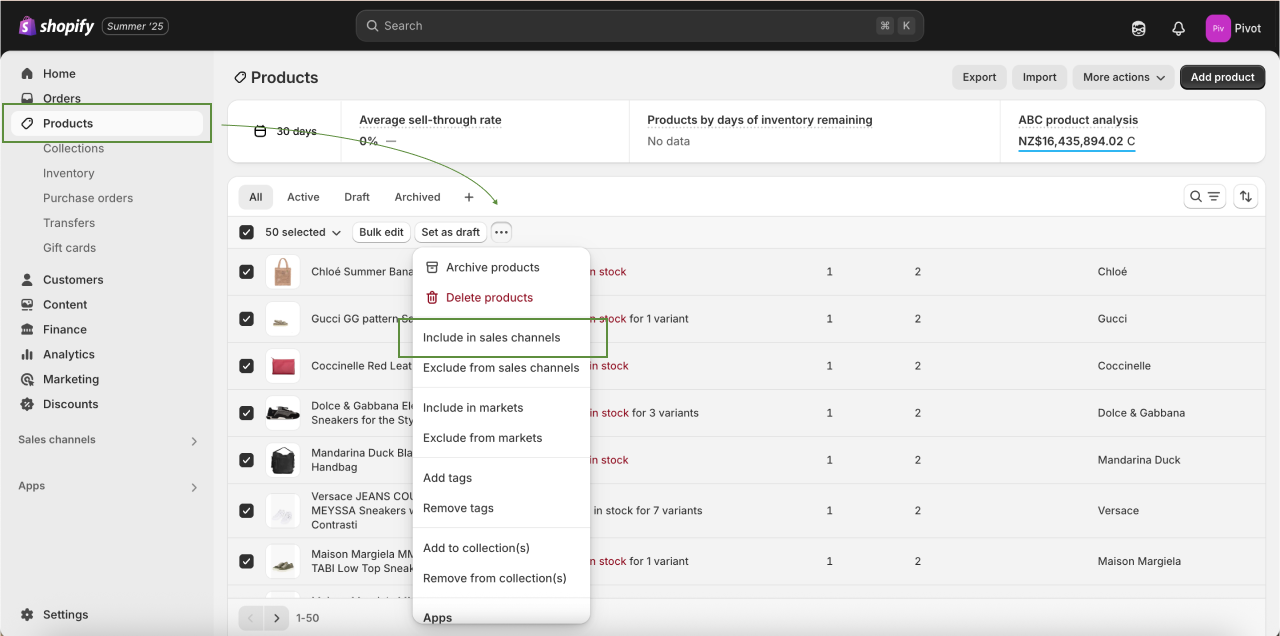
By default, new products in Shopify are only published to your Online Store. To make sure they’re visible on all your sales channels (such as Facebook, Google, etc.), follow these steps:
How to Add Products to All Sales Channels:
1. Go to Shopify Admin > Products.
2. Select the products you want to update, or use “Select all in this store.”
3. Click the three-dot icon (…) at the top right (More actions menu).
4. Choose Include in sales channels.
5. In the pop-up, check all the sales channels you want to publish the products on.
6. Click Save or Confirm.
This ensures your products are available across your entire sales network.
2. Sync Product Tags Using Super Tools
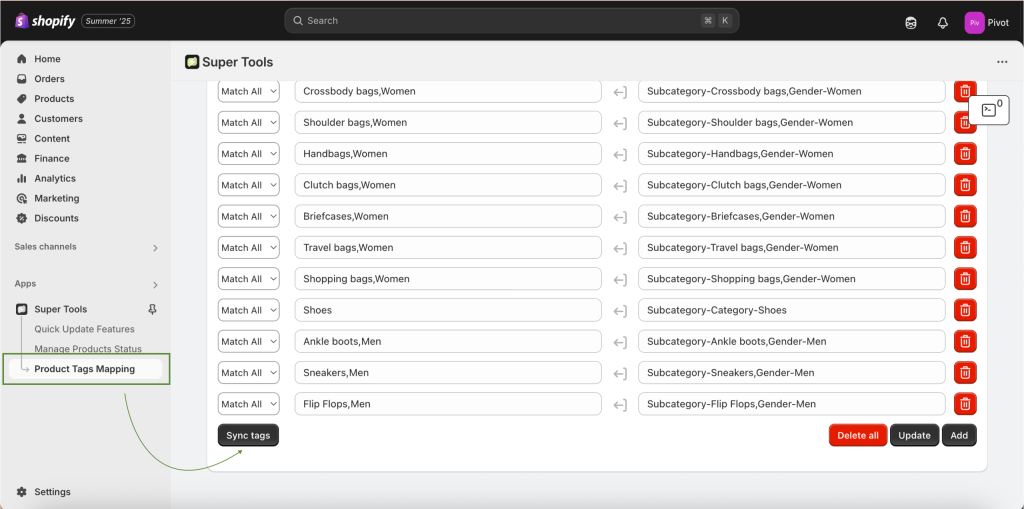
If you use the Super Tools app for tag management, here’s how you can manually sync your product tags:
How to Manually Sync Tags:
1. Go to Shopify Admin > Apps.
2. Open Super Tools from your installed apps.
3. Navigate to Product Tags Mapping in the menu.
4. Scroll down and click Sync Tags.
The syncing process will begin, and your tags will be updated within 24 hours.
3. Creating and Managing New Arrivals Collections
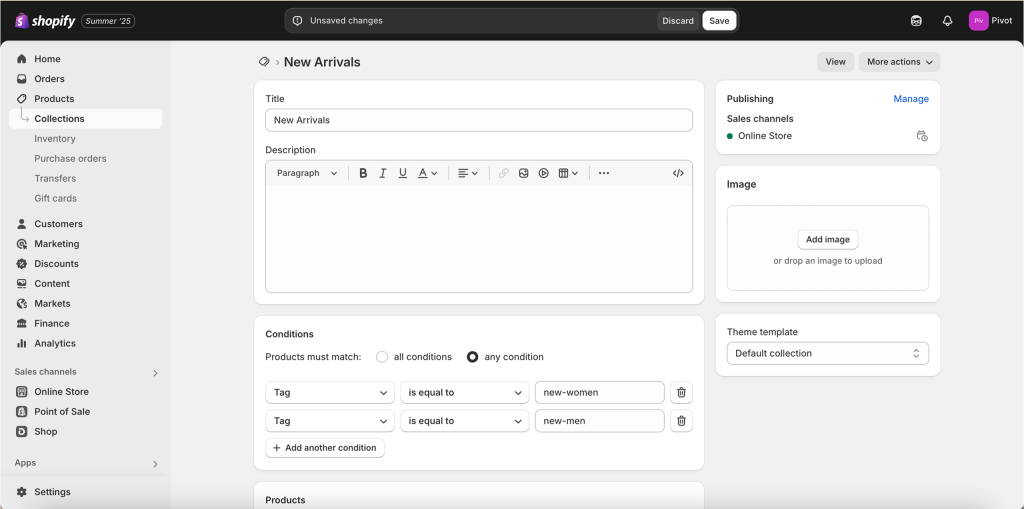
To help your customers find the latest additions to your store, you can create smart collections for New Arrivals.
Collections to Create:
– New Arrivals (includes new-women & new-men tags)
– New Arrivals Women (new-women tag)
– New Arrivals Men (new-men tag)
These collections automatically update based on product tags.
How to Tag New Products for New Arrivals:
1. Go to Shopify Admin > Products.
2. Use the Filters:
– Click Add filter
– Choose Status > Draft, then click Done
3. Select the draft products you want to update.
4. Click More actions > Add tags.
5. Add the appropriate tags:
– new-women for women’s items
– new-men for men’s items
6. Save your changes and publish the products when ready.
Once tagged and published, the products will appear in their respective New Arrivals collections.
4. Managing Markets in Shopify
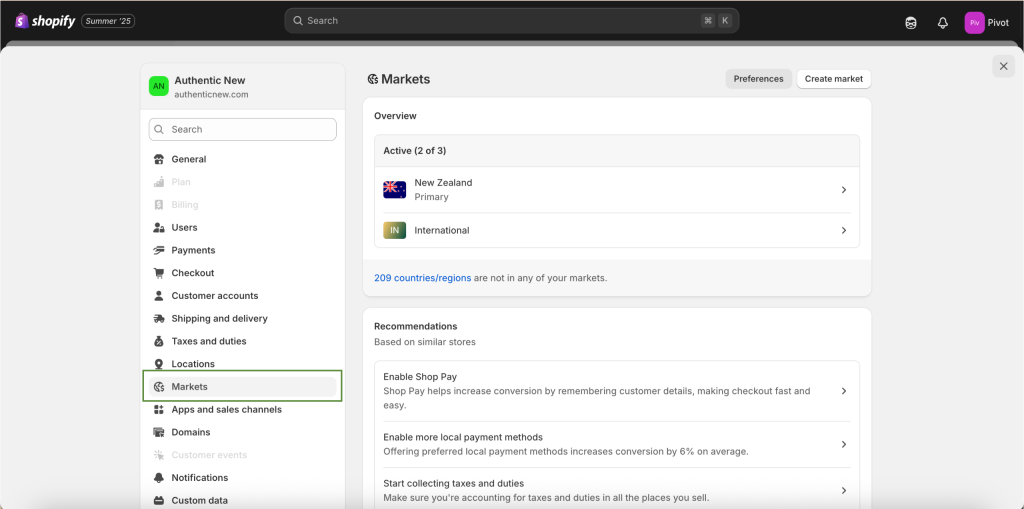
Shopify Markets lets you control which countries your store is available to. This is useful if you want to include or exclude certain regions.
How to Add or Remove Countries:
1. Go to Shopify Admin > Settings > Markets.
2. Under Markets, click International or Rest of World.
3. Click Manage next to the selected market.
To Add Countries:
– Scroll to Countries/Regions.
– Click Add countries/regions.
– Select the countries to include.
– Click Done and then Save.
To Exclude Countries:
– In the same section, find the country you want to exclude.
– Click the trash icon or Remove.
– Click Save.
Customers from excluded countries won’t be able to browse or check out from your store.
5. Setting Up Profit Margin Rules & Choosing Brands (via BrandsGateway)
If you’re using BrandsGateway as your dropshipping supplier, you have full control over how much profit you make on each product and which brands are included in your store.
How to Set Profit Margin Rules:
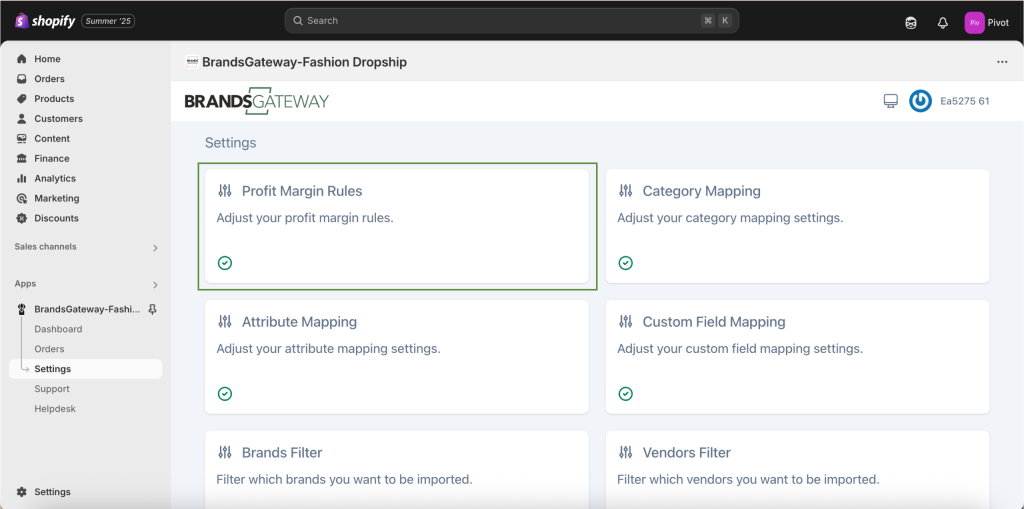
1. Go to Shopify Admin > Apps > BrandsGateway.
2. Click on Settings > Profit Margin Rules.
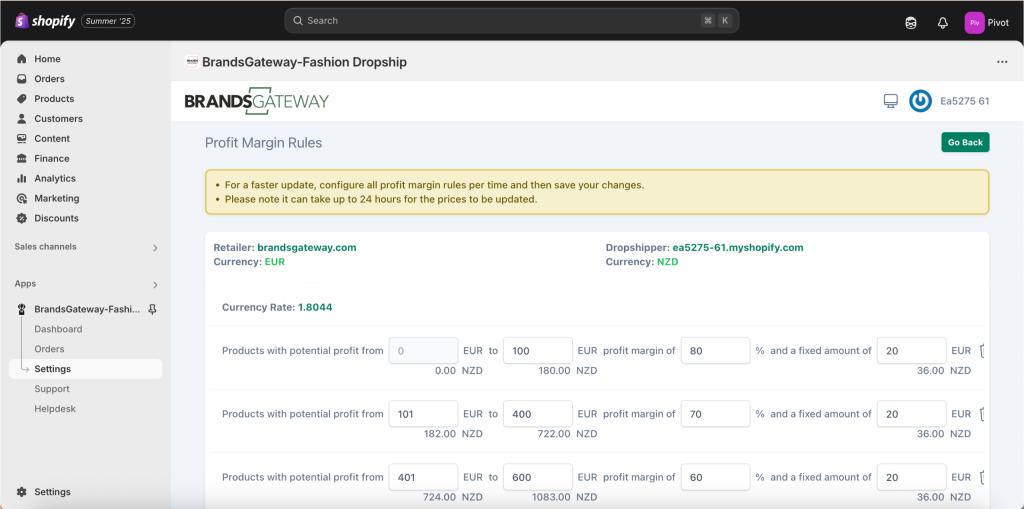
3. Choose your preferred method for setting margins:
– By product price range
– Using a percentage markup
– Or with a fixed euro amount per item.
4. Use the Price Calculation Simulator to preview how your rules affect final retail prices and your profit per item.
5. Save your settings.
How to Choose Which Brands to Import:
BrandsGateway allows you to filter and import products by specific brands to match your store’s niche.
Follow these steps:
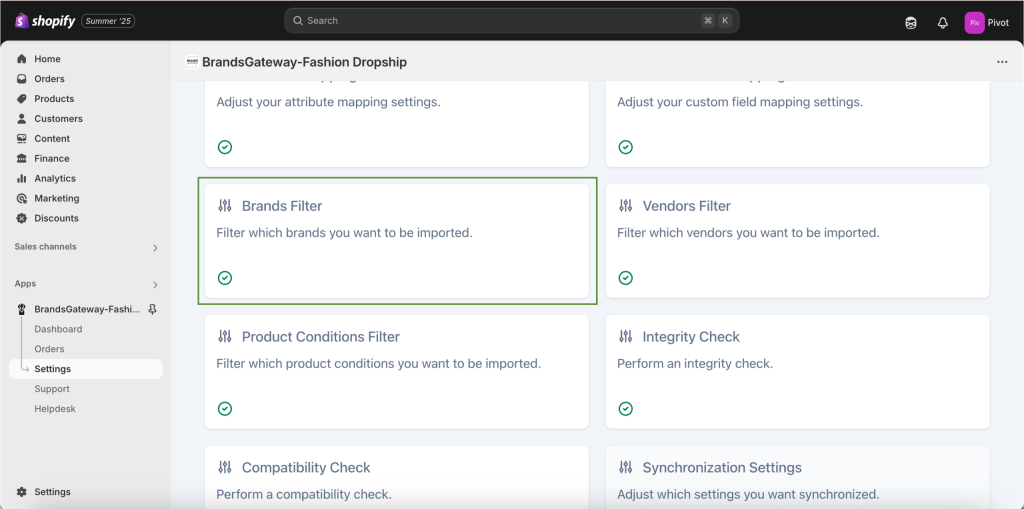
1. Open the BrandsGateway app in your Shopify Admin.
2. Navigate to the Settings section.
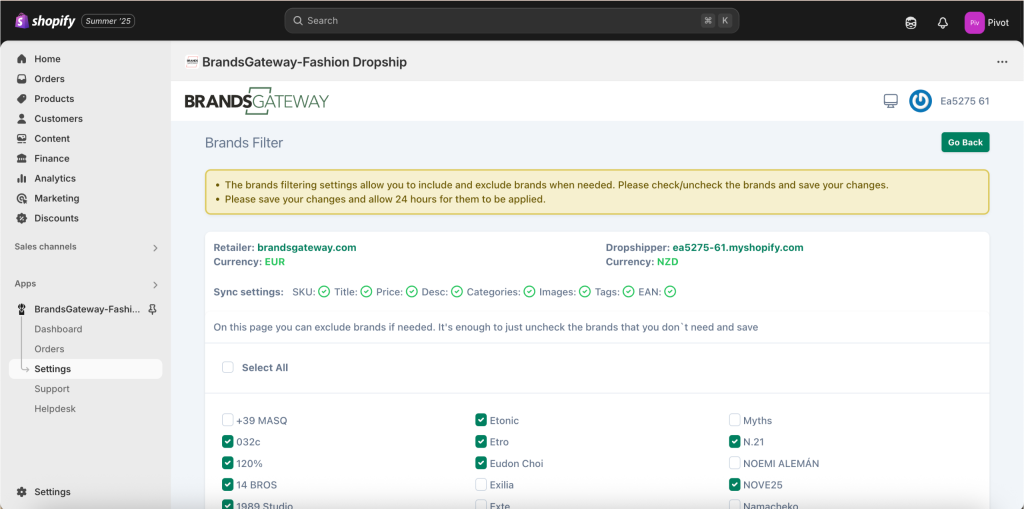
3. Look for a Brands Filter option.
4. From the list of available brands, tick the boxes for the ones you want to include.
– You can select multiple brands that fit your store’s image.
5. Save your selections.
Only products from the brands you’ve selected will be synced into your store moving forward. This is especially useful if you want to maintain a curated product catalog for a specific audience (e.g., premium handbags, designer shoes, etc.).
Final Tips
1. Be consistent with tagging and publishing routines.
2. Regularly check sales channel availability for new products.
3. Review your market settings as your business expands.
4. Use profit simulations to ensure pricing is competitive and profitable.
By keeping these processes in check, you’ll ensure your store runs efficiently and remains
attractive to customers around the world.
Conclusion
Take the time to evaluate your business requirements and budget before committing to a theme. Remember, the right theme is not just about aesthetics but also about performance, functionality, and the ability to scale with your business.
Liv Theme is available through its official website https://lemon.dev/liv, which specialize in high-quality Shopify themes.