If you’re new to Shopify, don’t worry — this guide will walk you through the essentials of
managing your store. Whether you’re updating your logo, creating a product, or checking
orders, everything is covered here step by step.
1. What is Shopify and How Does It Work?
Shopify is an all-in-one platform that lets you:
- – Build your online store
- – Add and organize products
- – Accept payments securely
- – Customize your website design
- – Install apps for extra features
- – It’s beginner-friendly, but powerful enough to grow with your business.
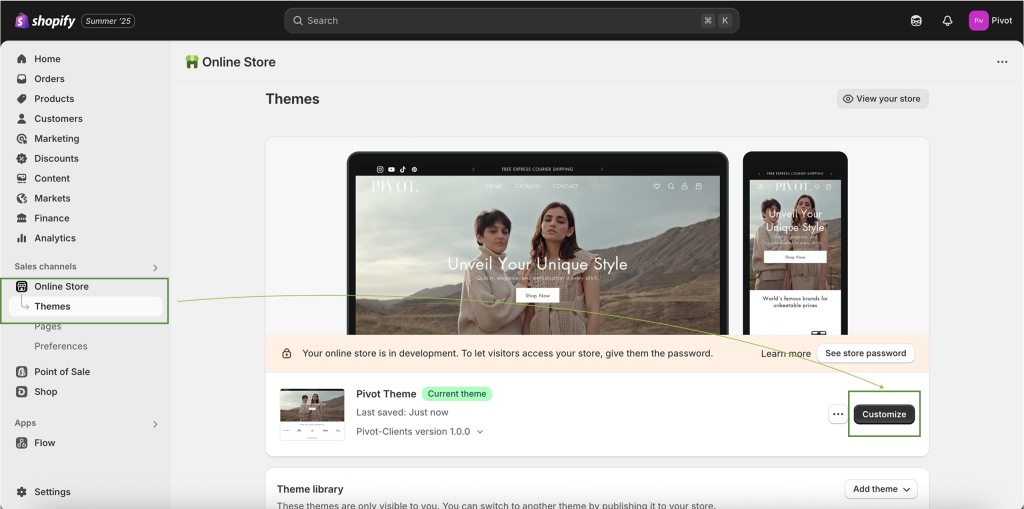
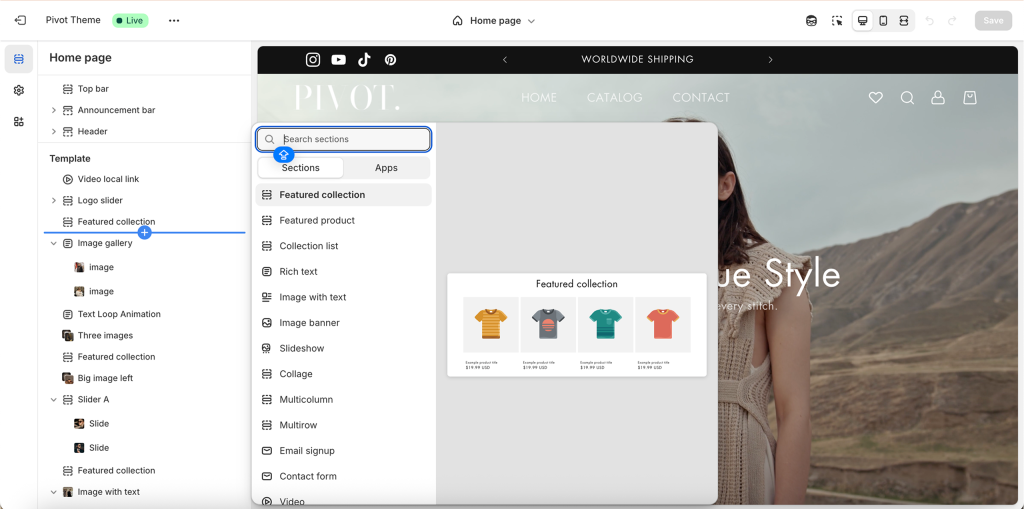
2. How to Customize Your Theme
- – Go to Online Store > Themes in your Shopify admin.
- – Click “Customize” next to your current theme.
1. Use the drag-and-drop builder to:
- – Add banners, products, slideshows, videos
- – Edit homepage layout
- – Adjust colors, fonts, buttons in Theme Settings
2. Always click Save after changes.
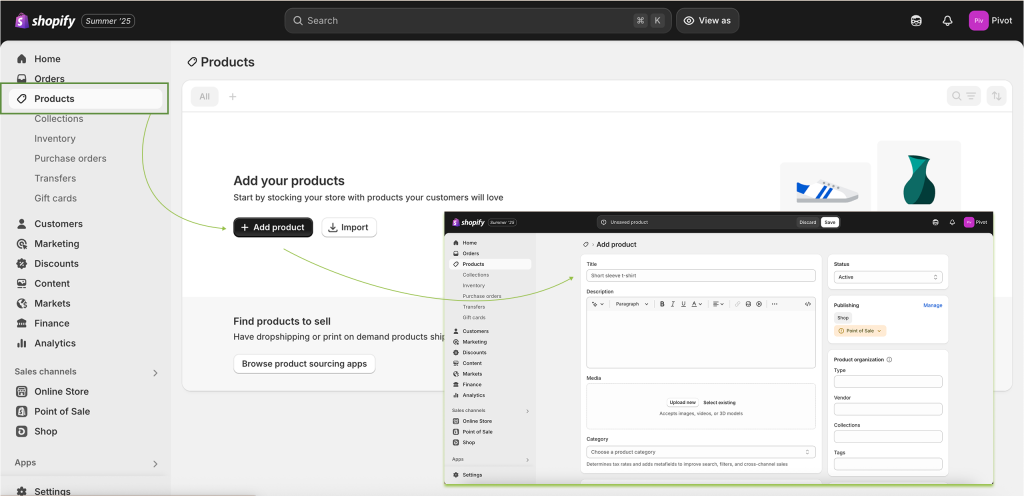
3. How to Create Products and Collections
Add a Product:
1. Go to Products > Add product.
2. Fill in the title, description, images, price, and inventory.
3. Add product type, tags, and SEO info.
4. Click Save.
Create a Collection:
1. Go to Products > Collections > Create collection.
2. Name your collection (e.g., Bags, Sale).
3. Choose Manual (you add products) or Automated (based on conditions).
4. Save and link the collection to your menu or homepage.
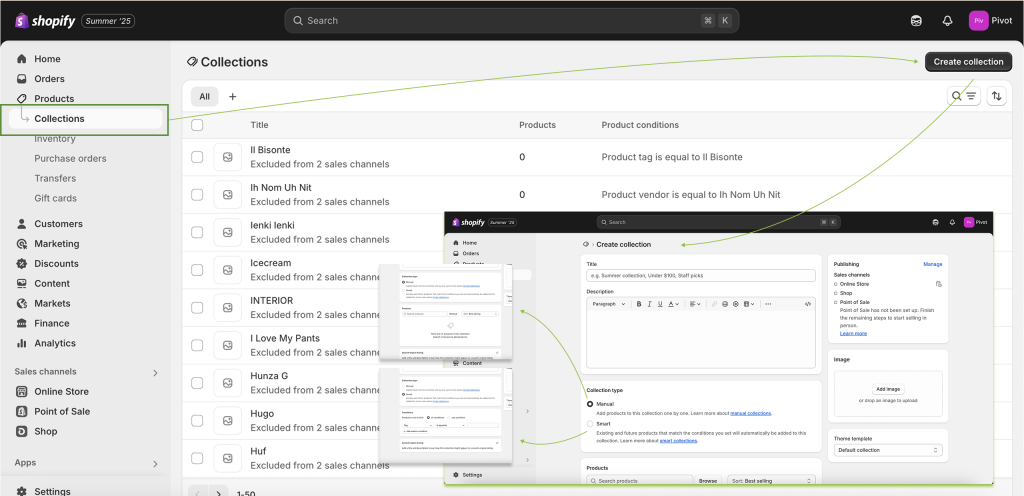
4.Types of Collections
Shopify offers two types of collections: Manual and Automated.
– Manual Collections
- – You add products yourself to the collection, one by one.
- – Ideal if you want full control over which products appear in the collection.
- – Good for small collections, curated selections, or special promotions.
Example:
A “Staff Picks” collection where you hand-select specific items.
– Automated Collections
- – Products are added automatically based on conditions you set (like tags, product type,price, vendor, etc.).
- – Great for saving time, especially when you have many products.
Example:
A collection that automatically includes all products with the tag “shoes”.
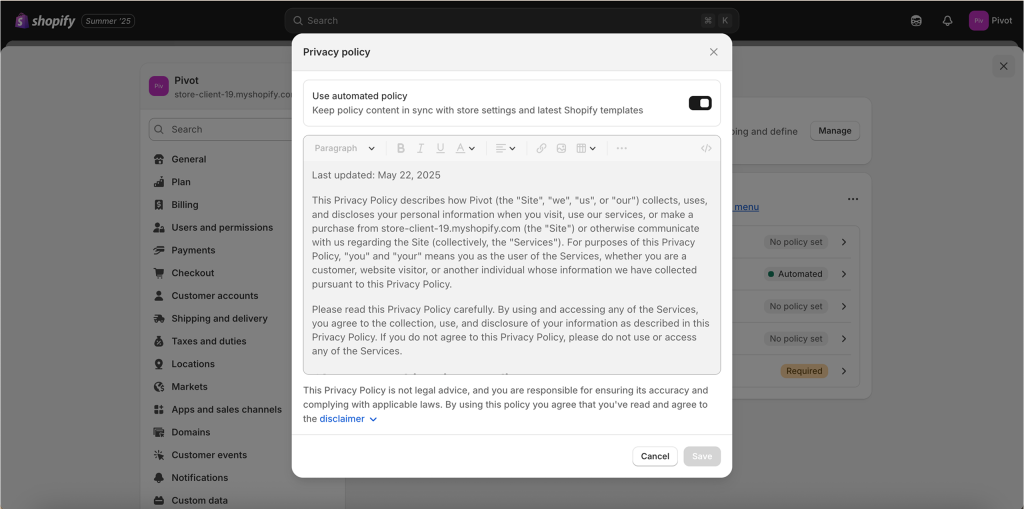
5.How to Create Store Policies
1. Go to Settings > Policies.
2. You’ll see options to create:
-
- – Refund Policy
- – Privacy Policy
- – Terms of Service
- – Shipping Policy
3. You can use Shopify’s pre-written templates and edit them.
4. These policies automatically show in your footer or checkout page.
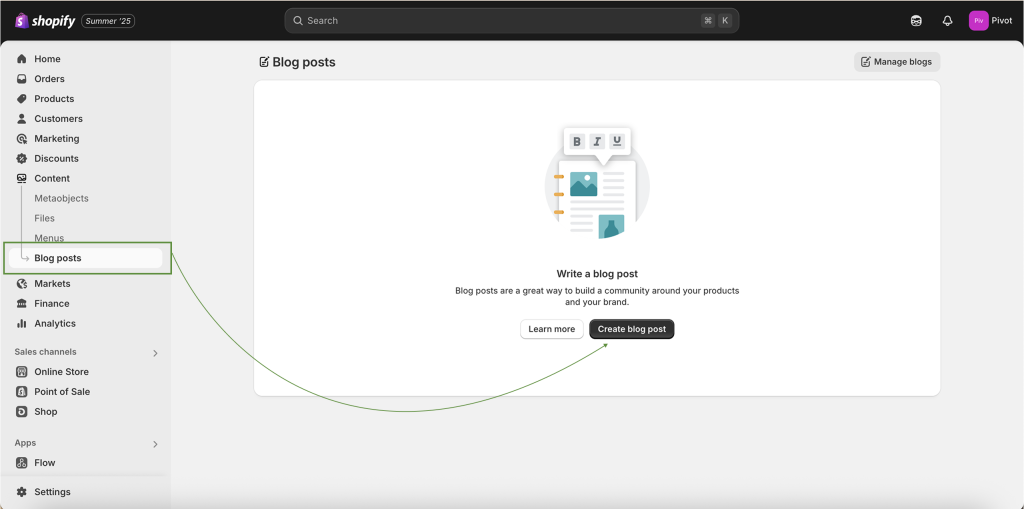
5.How to Create Blog Posts
1. Go to Online Store > Blog Posts.
2. Click “Create blog post”
3. Add your title, text, images, and assign it to a blog (e.g., “News” or “Tips”).
4. Set a featured image and publish.
6.How to install Apps through Shopify dashboard
1. Go to the Shopify App Store https://apps.shopify.com/ or click Apps > Shopify App Store in your admin.
2. Find an app you need (reviews, email marketing, translation, etc.).
3. Click Add app, approve permissions, and install.
4. Set up the app inside your admin after installation.

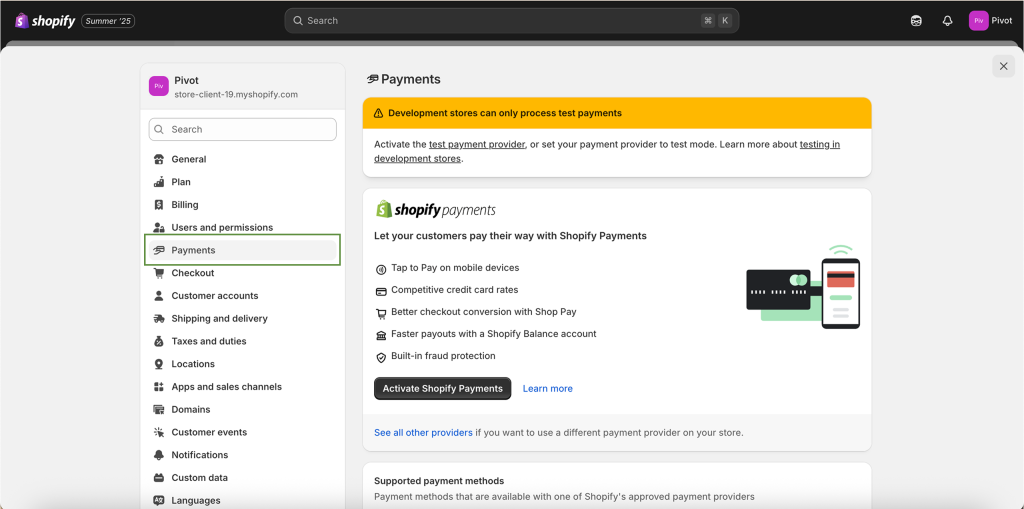
7.How to Manage Payments
1. Go to the Settings > Payments.
2. Choose a payment provider (Shopify Payments, PayPal, PayU, etc.).
3. Enter your bank details to receive payouts.
4. Enable payment methods like credit cards, Apple Pay, etc.
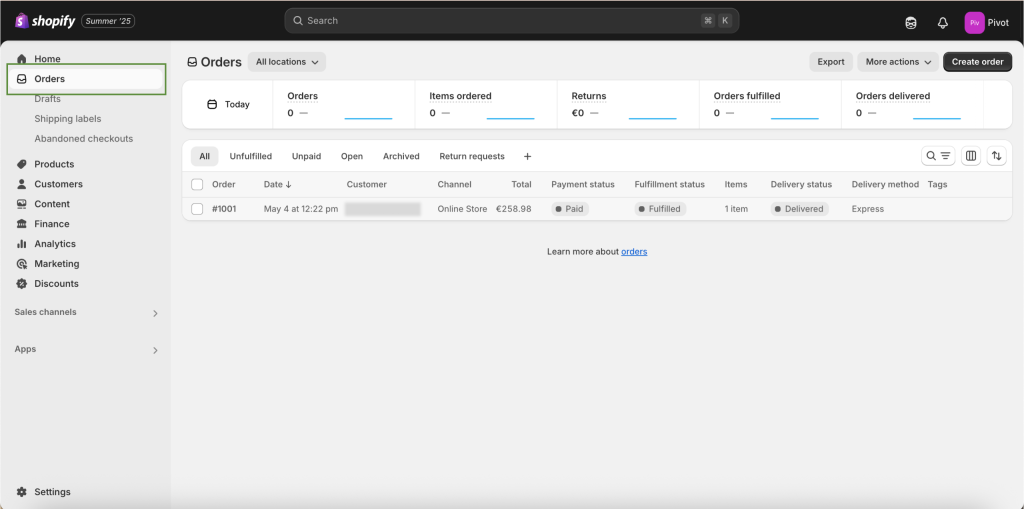
8.How to Check Orders
1. Go to Orders from the main admin menu.
2. Click any order to view:
- – Products bought
- – Shipping address
- – Payment and fulfillment status
3. You can fulfill orders, print packing slips, or update tracking numbers.
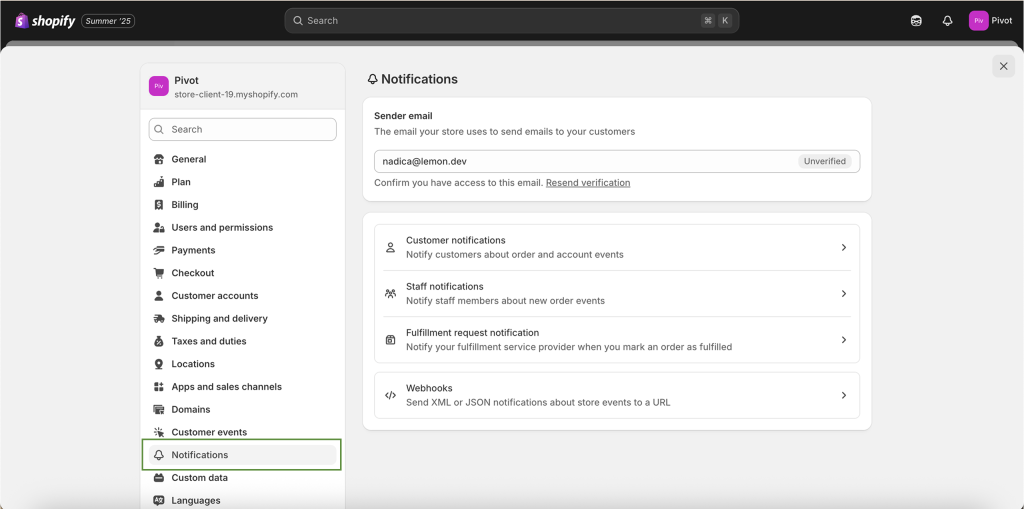
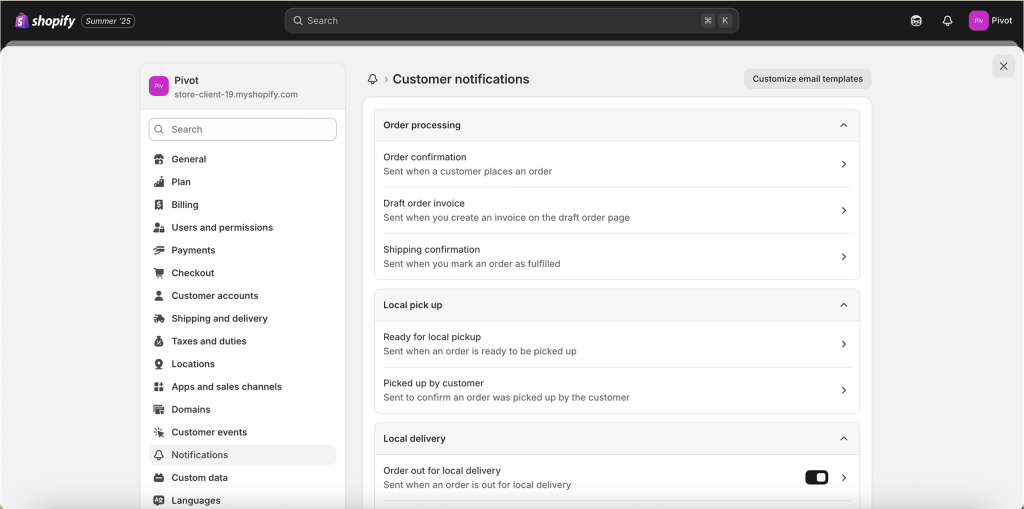
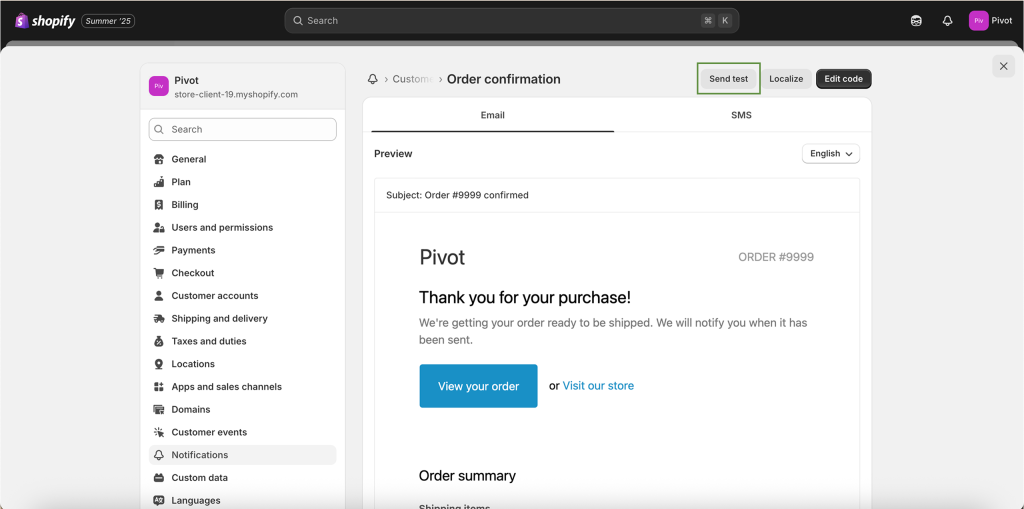
9.How to test Email Notifications
1. Go to the Settings > Notifications.
2. Choose a notification (like Order Confirmation).
3. Click “Preview” or “Send test email” to your own email.
4. Make sure your store email is verified under Settings > Store Details.
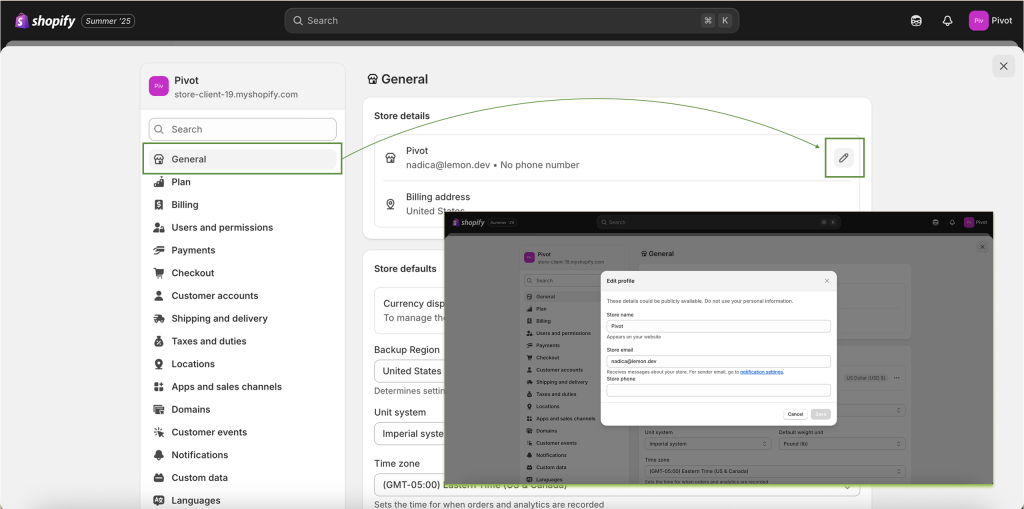
10.How to Update Store Information
1. Go to the Settings > Store Details.
2. You can update:
- – Store name
- – Business address
- – Contact email
- – Phone number
- – Legal business info
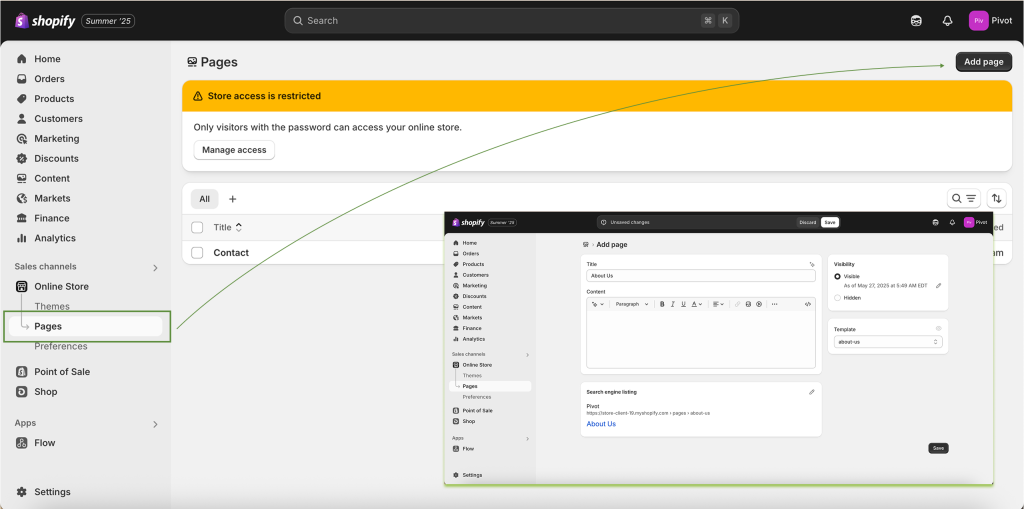
10.How to Create Pages and how to Assign Them
1. Create a Page
- – Go to Online Store > Pages > Add page.
- – Add a title (e.g., About Us, Contact) and your content.
-
– Click Save.
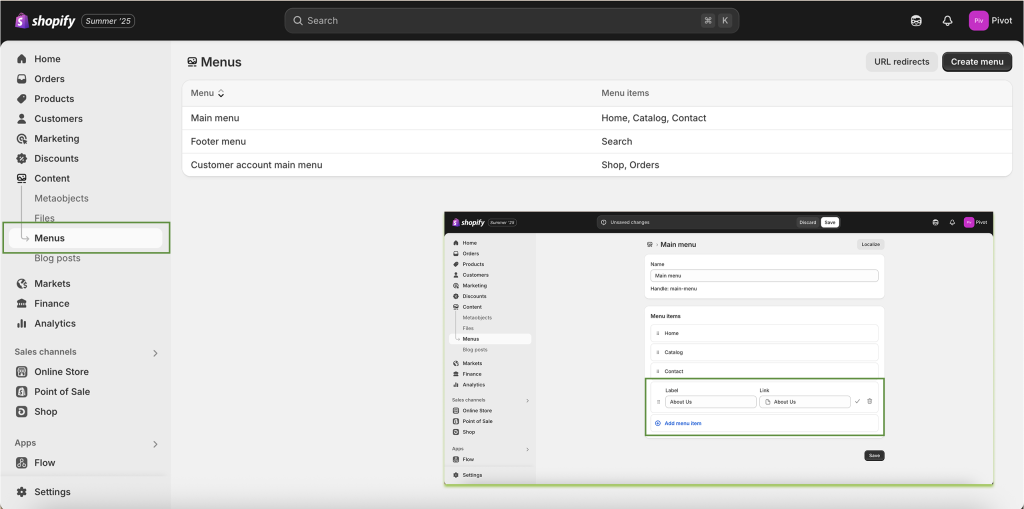
2. Assign a Page to a Menu:
- – Go to Online Store > Navigation
- – Choose the Main menu or Footer menu.
-
– Click Add menu item, name it (e.g., “About Us”), and link to the page.
-
– Click Save the menu.
11.How to Add Your Logo
1. Go to the Settings > Themes > Customize.
2. Click on the Header section.
3. Upload your logo file (PNG or JPG).
4. Adjust logo size if needed and click Save.
![]()
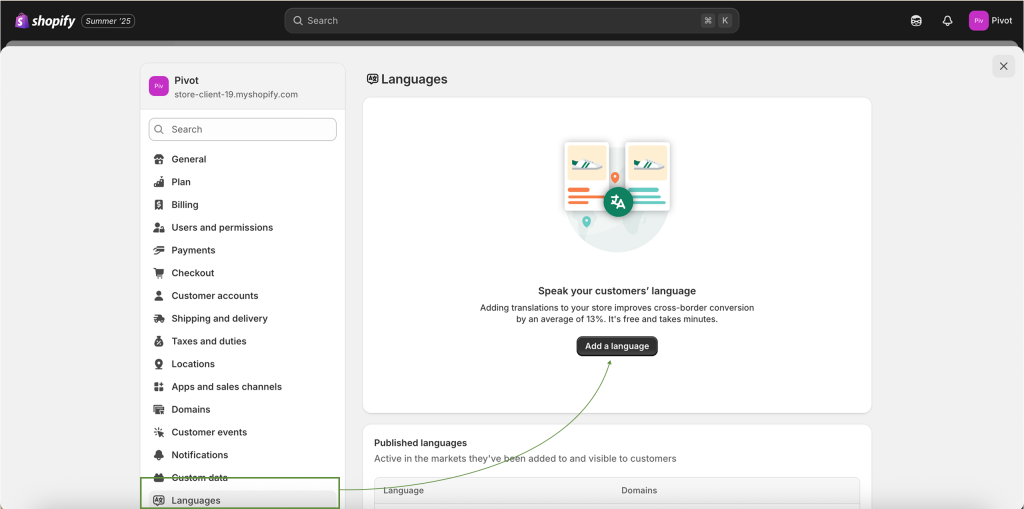
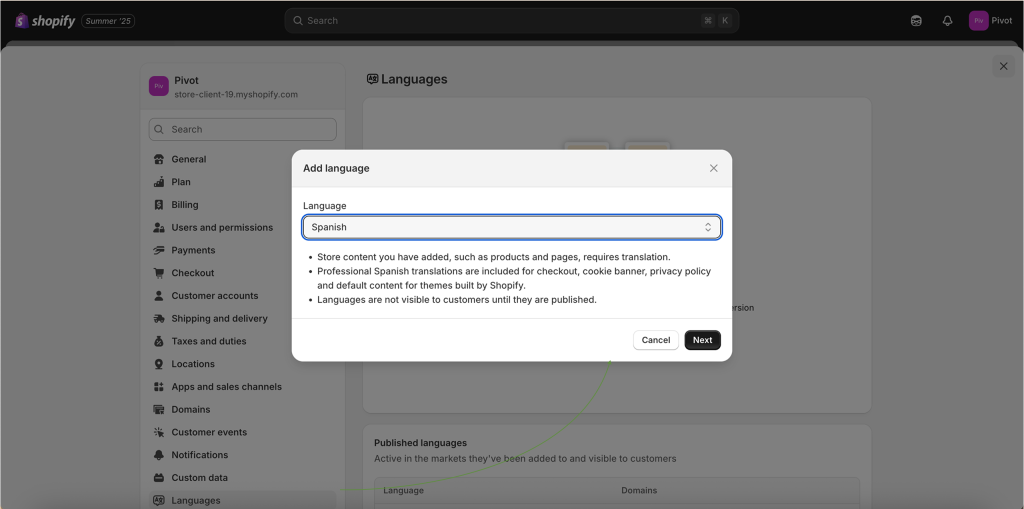
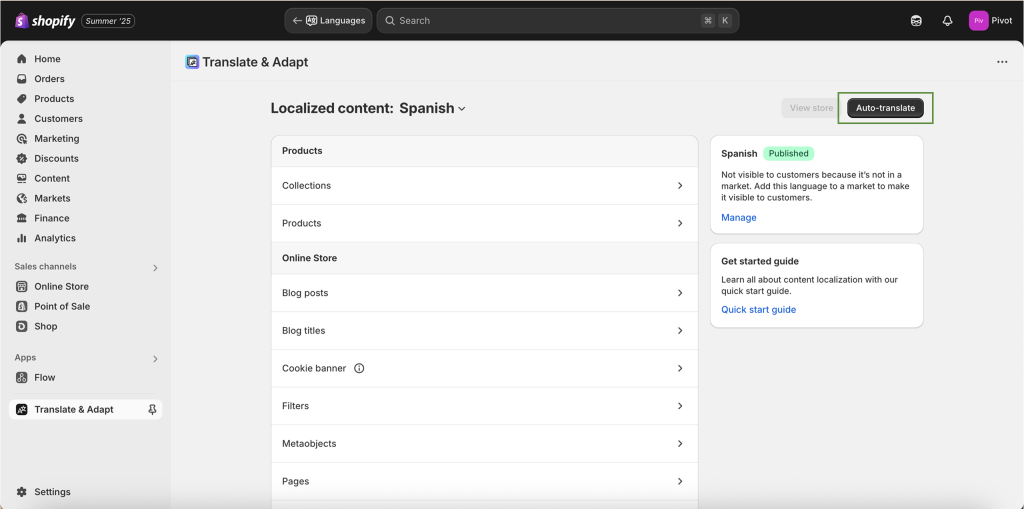
12.How to Add Language to Your Shopify Store
1. Add The Language
- – Go to Settings > Languages.
- – Click Add Language, choose one, and click Add.
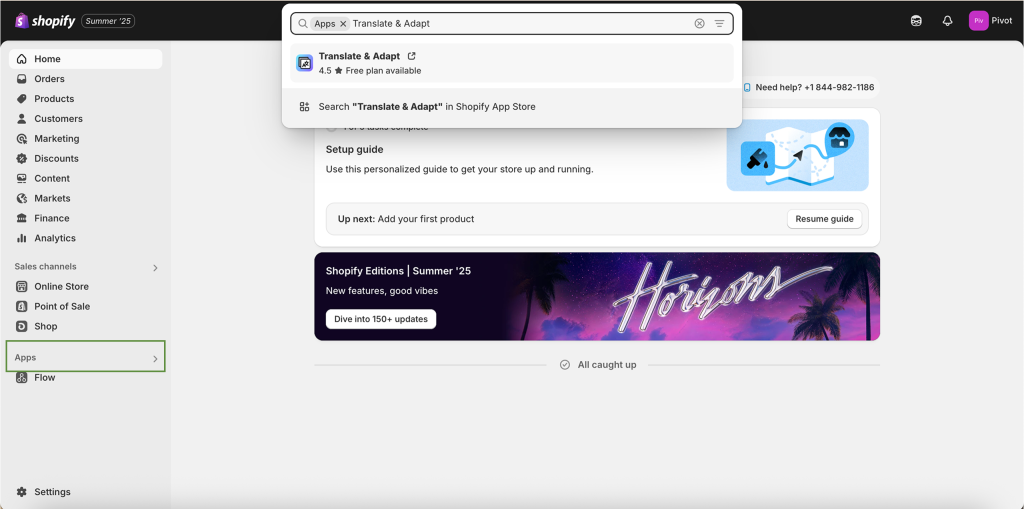
2. Translate Store Content
- – Install Translate & Adapt (free app from Shopify).
- – Go to Apps > Translate & Adapt.
-
– Choose the language and click Auto-translate or enter translations manually.
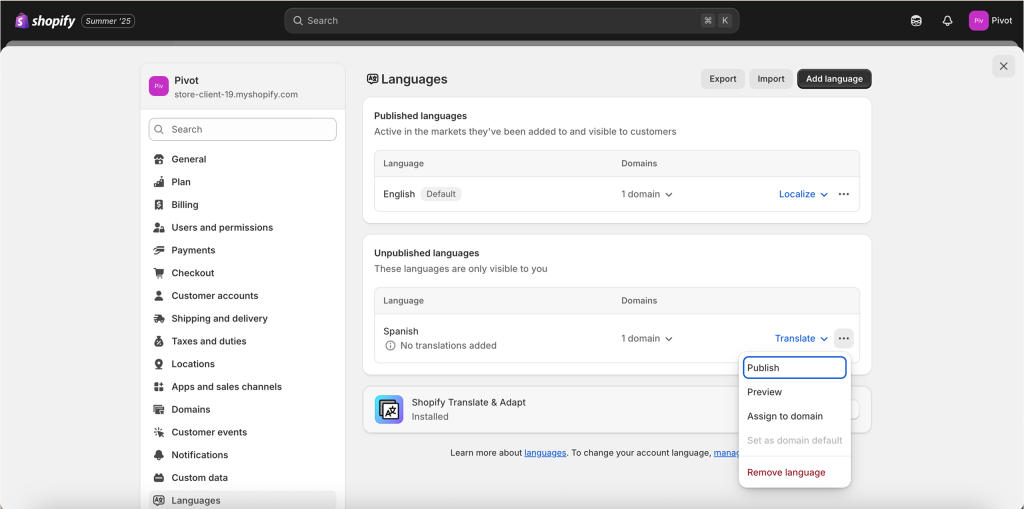
3. Publish the Language
- – Go to Settings > Languages.
- – Click Publish next to the added language.
4. Add Language Switcher
- – Go to Online Store > Themes > Customize.
- – Add a Language Selector in the header or footer.
BONUS: How to Translate Your Store (Free Version)
If you’ve added a second language using Translate & Adapt:
● – Go to the app and translate manually each product, page, and collection.
● – After every update (like changing a product or description), you need to go back to the app and re-translate that section — it doesn’t update automatically
Final Tip:
Explore Shopify slowly, one section at a time. Bookmark this guide and revisit it whenever you need help.
Want help with a specific task or a more advanced tutorial? Just reach out!
Conclusion
Choosing the right theme for your Shopify store depends on your specific needs:
- If you’re looking for an easy-to-use, feature-rich theme that’s great for beginners and experts alike, Debutify is a strong choice.
- For those prioritizing integrated marketing tools and sales optimization, Booster Theme is ideal.
- If you’re aiming for a modern, unique storefront that stands out visually, Liv Theme is perfect for your needs.
Take the time to evaluate your business requirements and budget before committing to a theme. Remember, the right theme is not just about aesthetics but also about performance, functionality, and the ability to scale with your business.
Liv Theme is available through its official website https://lemon.dev/liv, which specialize in high-quality Shopify themes.