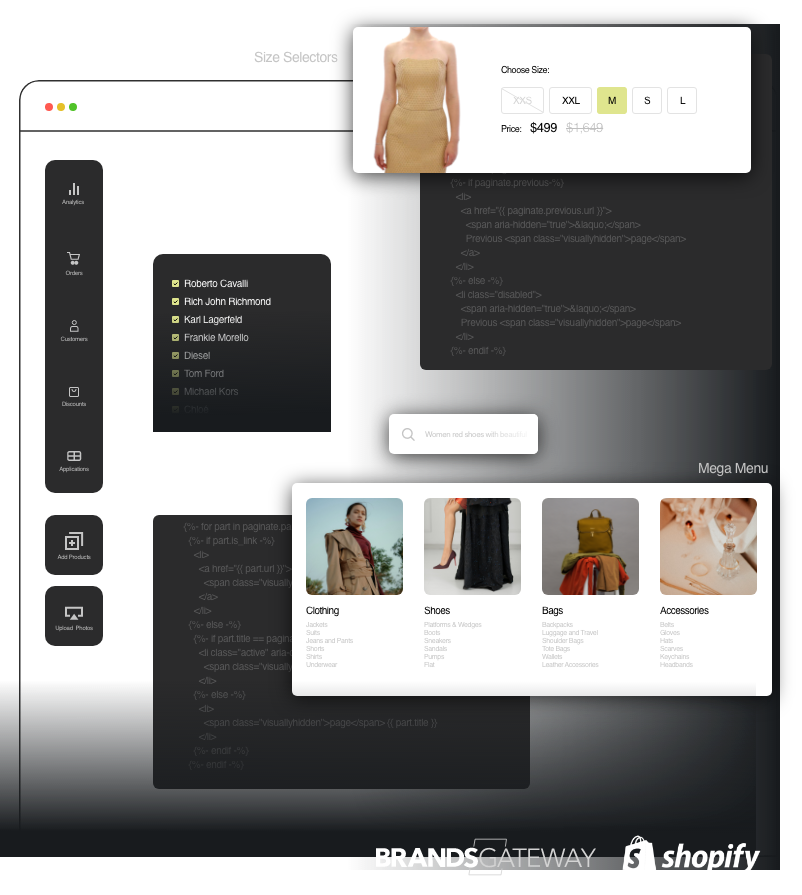
Starting your own online store with Shopify can be exciting — but also a little overwhelming if you’re new to the platform. To help you get off on the right foot, here’s a simple, step-by-step guide covering all the essential setup tasks you need to launch your Shopify store successfully.
1. Choose and Customize Your Shopify Theme
Your store’s theme controls how it looks and feels. Shopify offers both free and paid themes. Browse the Shopify Theme Store in your admin panel, pick a theme that fits your brand style, and customize colors, fonts, and layout with the built-in theme editor.
2. Add a Custom Domain
A custom domain (like www.yourstore.com) makes your store look professional and trustworthy. You can buy one directly from Shopify or connect an existing domain by updating DNS settings with your domain registrar.
3. Set Up Your Store Navigation
Good navigation helps customers find what they want quickly. Organize your menu and footer by adding links to your product collections, pages like “About Us,” or contact info through the Navigation section in Shopify.
4. Add Your Products
Add products one by one via the Products tab by filling in details like title, description, price, and images. If you have many products, you can use CSV imports or apps to speed things up.
5. Organize Products Into Collections
Collections group similar products, such as “Summer Dresses” or “Men’s Shoes.” You can create manual collections or automatic ones that group products based on tags or price.
6. Create Important Pages
Besides your homepage, you’ll need pages like “About Us,” “Contact,” and policy pages (Refunds, Privacy). Create these under Online Store > Pages and add engaging, clear content.
7. Set Up Payment Gateways
Go to Settings > Payments to connect payment providers such as Shopify Payments, PayPal, or others like PayU. Make sure your customers can pay securely and easily.
8. Configure Shipping Rates and Zones
Set shipping costs based on weight, price, or location in Settings > Shipping and delivery. You can create shipping zones for different countries or regions.
9. Set Up Taxes
Automatically or manually configure tax rates depending on your location and where you sell, in Settings > Taxes and duties.
10. Add Legal Policies
Generate or write your Refund, Privacy, and Terms of Service policies under Settings > Legal. Link these pages in your store footer and checkout for compliance and customer trust.
11. Connect Google Analytics and Facebook Pixel
Track your visitors and conversions by adding your Google Analytics ID and Facebook Pixel code in Online Store > Preferences. Setting up your Shopify store may seem like a lot, but by tackling each step carefully, you’ll create a professional, smooth shopping experience that customers will love. Once you launch, you’ll be ready to focus on growing your business!
